Connecting Fronius Gen24 Inverter to your Wi-Fi Network
At Online Air & Solar, we always connect your inverter to the internet as part of your installation, but sometimes you’ll need to do this yourself as well.
For example, if you change your home Wi-Fi password or your internet provider, you’ll need to follow this guide to re-connect your inverter to the internet.
First of all – it’s important to note that just because Fronius Solar.Web says your inverter is ‘offline’, this doesn’t mean that it’s not working at all. It simply means it’s no longer connected to the internet.

With that aside, let’s get into it
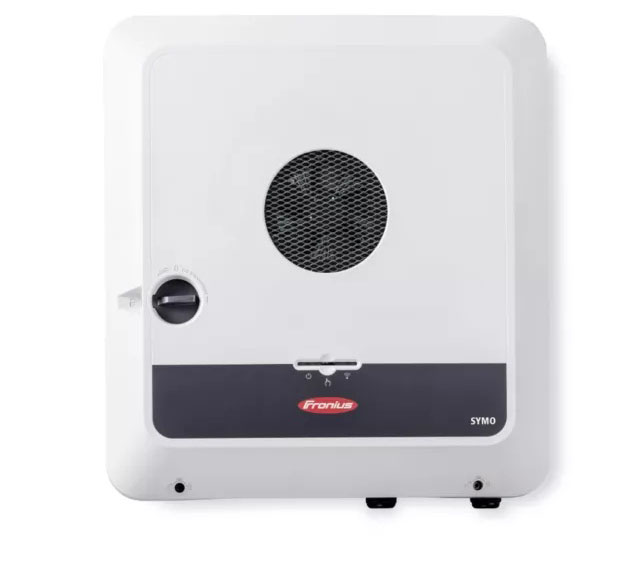
- Gen24 has an optical sensor in the middle of the two LEDs on the inverter. Tap the optical sensor once to activate the WiFi Access Point.
- Go to WiFi settings on your device (laptop, tablet, smart phone etc.) and connect to the Fronius local network named Fronius_3xxxxxxx (your inverter serial number). The password is 12345678
- Open a browser and enter the IP address 192.168.250.181. If your system has been setup, you will see the ‘Overview’ page displaying real time data of your system.
- Click on the 3 horizontal bars on the left-hand side to open up menu options. Select ‘Communication’ and then ‘Network’ You will need to enter the password Admin12345 when prompted
- On the Network page, expand the ‘WiFi’ option, select your network name (hit REFRESH if you cannot see your network) and enter your WiFi password.
- Click on the eye icon on the right side to see the entered password
- Click on the connect button
Your system should connect and after few minutes, you will see a Green Tick next to the solar.web icon located on the bottom of the page
You can also watch the instructional video below :
