| 1 |
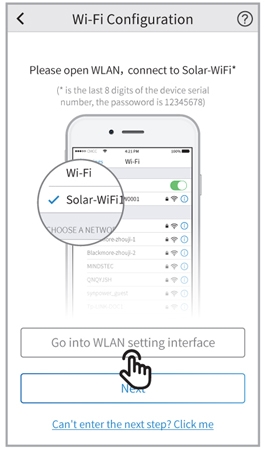
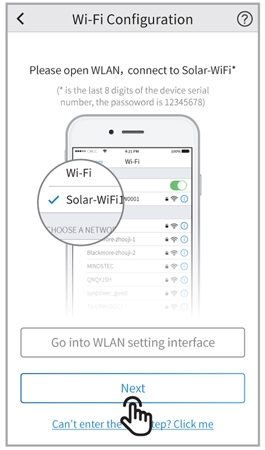
Unable to find Solar-WiFi or Solar-Wi-Fi* |
- Check if inverter is power on and Wi-Fi module is well attached.
- Make sure your smart device is close to the inverter.
- Restart inverter.
- Press “Wi-FI Reloadt” button to have Wi-Fi module back to default mode and follow above Wi-Fi configuration steps again.
|
| 2 |
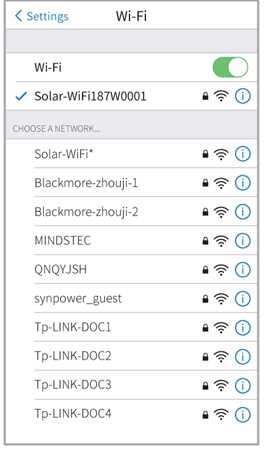
Unable to connect to Solar-WiFi or Solar-Wi-Fi* |
- Try password: 12345678;
- Check there is any device connected to the Solar-Wi-Fi* already.
- Press “WiFi Reload” button to have Wi-Fi module back to default mode and follow above Wi-Fi configuration steps again.
- Restart inverter and try Wi-Fi configuration again.
- Check if there is any unacceptable character in the password.
|
| 3 |
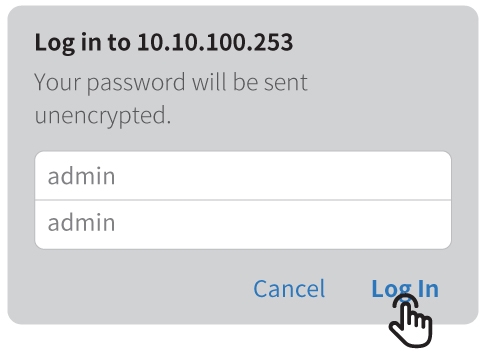
Unable to login website 10.10.100.253 |
- Press “WiFi Reload” button to have Wi-Fi module back to default mode and follow above Wi-Fi configuration steps again.
- Switch to preferred browsers such as Google Chrome FireFox, IE, Safari.
|
| 4 |
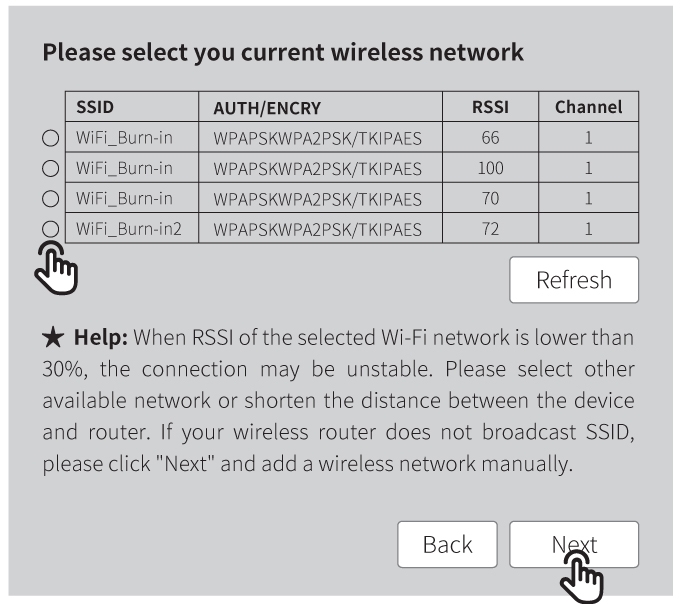
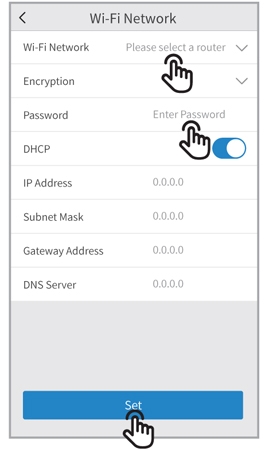
Unable to find router SSID |
- Move the router closer to inverter or use a Wi-Fi repeater device;
- Check if the channel number of router is higher than 13. If yes, modify it into a lower number at router configuration page.
|
| 5 |
Wi-Fi LED indicator blinks twice continuously with all configuration steps done |
- Restart the inverter.
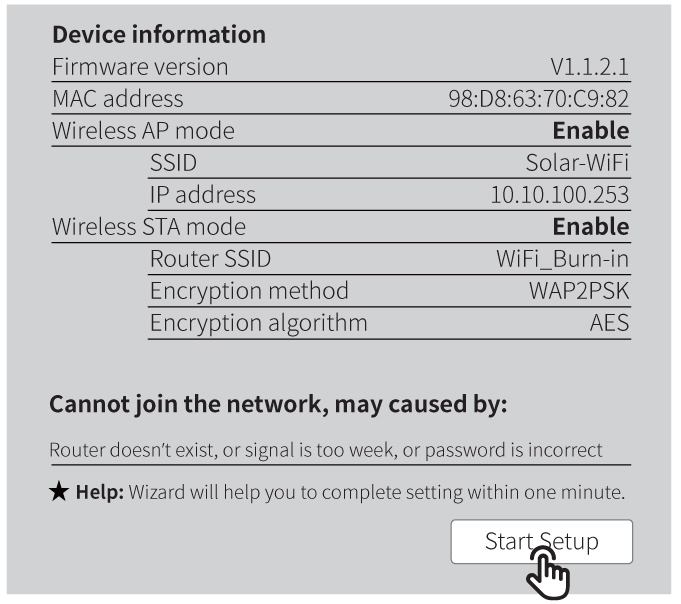
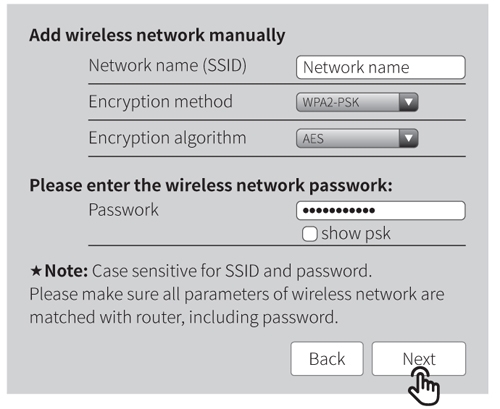
- Check if the SSID, encryption method, encryption algorithm and password on Wi-Fi configuration page is the same with that of Wireless Router and correct if different.
- Check if the maximum amount of devices allowed to connect to the router has exceeded. If yes, please disconnect some devices or expand the limitation.
|
| 6 |
Wi-Fi LED indicator blinks four times continuously when all configuration steps done |
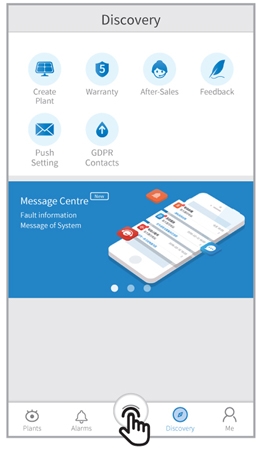
- Connect smart device to non-inverter Wi-Fi and access to SEMS Portal to check if the inverter is online.
- Restart Wireless Router and the inverte.
|
| 7 |
Offline status of inverter on SEMS Portal with Wi-Fi LED indicator always |
- Please wait a few minutes for data transmission and check on SEMS Portal later
|